Blog
How to Generate Historical Scene Recreations with the AI Image Generator in CapCut PC for History Projects
Creating history projects is a little challenging for history students and historians. One of the toughest things is bringing historical events into a form that feels real and understandable. Photos are useful because they make it easier to look at what happened, remember specifics, and share with others what transpired.
With the CapCut Desktop Video Editor and its AI image generator, you can create complex scenes of the past in a few steps. The software enables you to convert thoughts into images quickly, thereby conserving time and energy.
With such AI tools, historical projects are more enjoyable, concise, and interactive, enabling the audience to focus on the crucial narrative.
AI Image Generator for Historical Scene Recreations
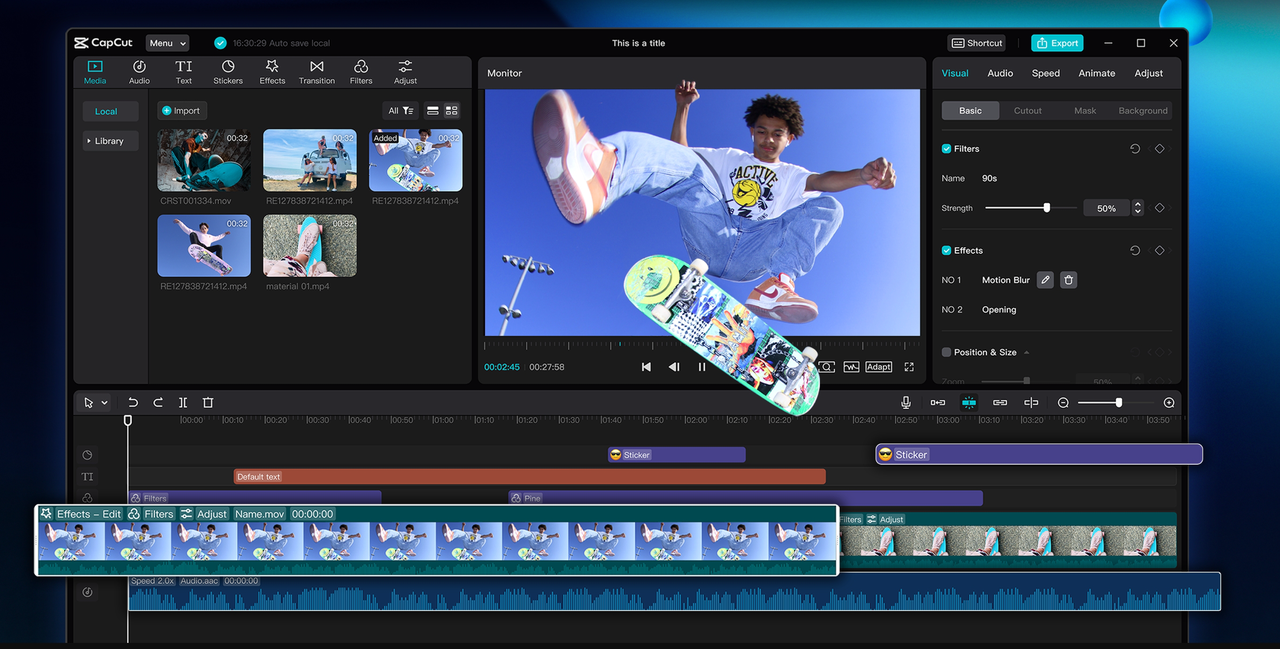
It might be challenging to recreate scenes from history if you only rely on drawings or stock photos. With the CapCut PC and its AI image creator, one can easily transform ideas into clear-cut pictures.
It is simple to recreate scenes from history, individuals, and locations in a realistic way. This makes it so students actually experience history instead of merely reading about it. Students understand better when they view an image scene, and they retain more.
The CapCut PC AI image generator allows students to make history projects more engaging. You can add characters, buildings, clothing, and items from the time you want to represent.
It makes presentations more authentic and easier to interpret. It also saves time because you do not have to sketch out each item or search for images on the web.
The other benefit is that it is creative. You can choose different styles, change the ambiance, and create unique scenes. You can present the same event in different ways and study history from different angles. The interface of the CapCut Desktop Video Editor is simple. You just need to input a description, select settings, and the AI image generator creates the scene.
It is important to note that CapCut PC is not fully free. Some of the advanced features, high-quality export, or some exclusive styles may require payment. However, the free features are still enough to produce amazing historical scenes within a short period of time.
Key Advantages of Using CapCut PC AI Image Generator
CapCut PC and its AI picture producer make it easy and simple to create scenes from the past. The scene is displayed in seconds, which is time-efficient and hassle-free.
One of the finest features is customization. You can adjust the time frame, location, characters, objects, and props according to the event you want to portray. You can even choose different styles, like painting, sketch, or realistic depiction.
To add more interest to the scene, you can have a historical AI avatar as the characters. The avatars give life to the people in your scene and make your story clear.
There is no need for hand-drawing, so instructors or students can focus on the content as opposed to spending hours on illustrations. The graphics could be incorporated directly into video productions or slideshows, and consequently, presentations become more attractive.
It must be noted that CapCut PC offers numerous free features, but some advanced AI image styles, HD images, or some avatar settings will require payment. Using free software only, you can make professional historical scene recreations instantly.
Steps to Create Historical Scene Recreations
Step 1: Install CapCut PC
First, go to the official website and download the CapCut Desktop Video Editor. Don’t download it from any other source. After downloading, open the installation and read the instructions on the screen.
You may be required to sign up or log in to start using it. CapCut PC is supported on both Windows and Mac, so you won’t face any difficulty in using it on your laptop.

Step 2: Begin AI Image Generator
Open CapCut PC and locate the AI Image Generator tool in the home menu. Click on it to launch a new project. Then, decide on the type of historical scene you want to design. This could be a famous event, a location, or a group of people from a specific period.

Step 3: Customize Your Scene
Type a description of the historical setting or event in the prompt box. Select a style, such as painting, sketch, or a realistic render. You can also adjust lighting, time periods, and other options like resolution or composition.
After generating the image, preview it to see if it matches your vision. Make changes if needed. You can also create historical-style AI characters to bring life to the scene.
Step 4: Export and Use in Projects
When your design is complete, press Generate to create the final image, then click Export and choose your preferred format. These generated scenes can be added to slides, reports, or video projects. Keep in mind that high-resolution exports or certain effects may require payment.

Conclusion
The CapCut PC AI picture maker makes it easier for students and teachers to make historical scene reenactments. It makes it easy to depict events, places, and people in an easy-to-understand and visual form.
CapCut Desktop Video Editor saves time, increases the extent of participation in projects, and enables students to be creative and learn more about history. You may test it for your upcoming presentation or history assignment to provide your work with an advantage.
Note that although there are plenty of free options, some of the advanced features or high-definition exports will cost you. Start working and make history vivid now!


 Blog8 months ago
[PPT] Human Reproduction Class 12 Notes
- Blog8 months ago
Contribution of Indian Phycologists (4 Famous Algologist)
- Blog8 months ago
PG TRB Botany Study Material PDF Free Download
- Blog8 months ago
Cell The Unit of Life Complete Notes | Class 11 & NEET Free Notes
 Blog8 months ago
[PPT] The living world Class 11 Notes
- Blog8 months ago
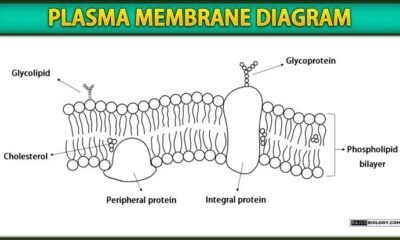
Plasma Membrane Structure and Functions | Free Biology Notes
- Blog8 months ago
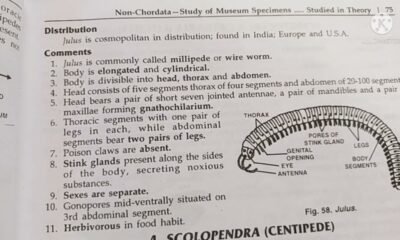
Julus General Characteristics | Free Biology Notes
- Blog8 months ago
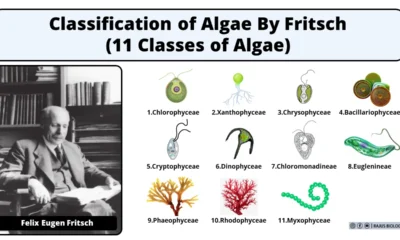
Classification of Algae By Fritsch (11 Classes of Algae)